Installation of the GLM Remote Start Gate Activator

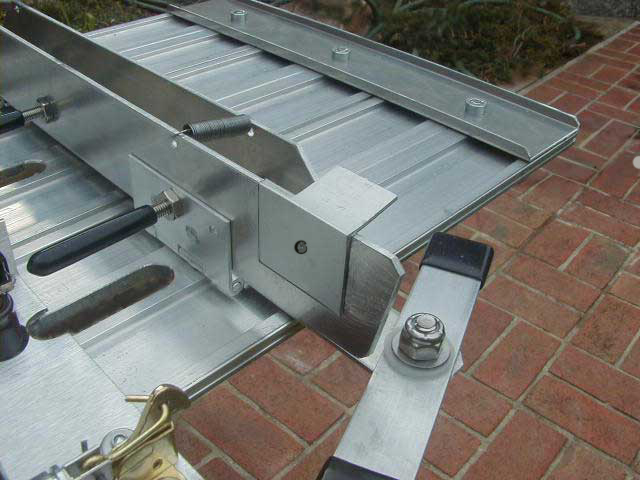
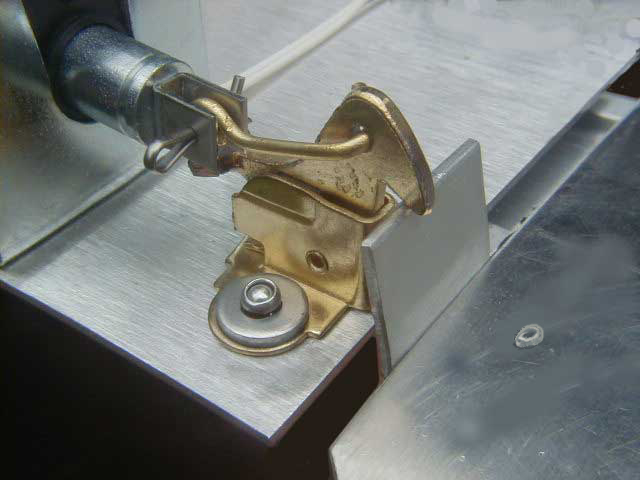
Step 1. Working with the track upside down, assemble the track to the rear pylon. At the hinges, use the two longer screws that we provide with the MWG-1, because the original screws are not quite long enough. (We provide two screws so that they match.)

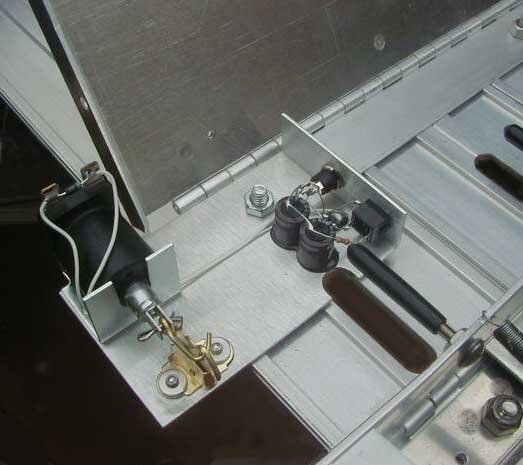
Step 2. Install the start gate to the track per Microwizard instructions.

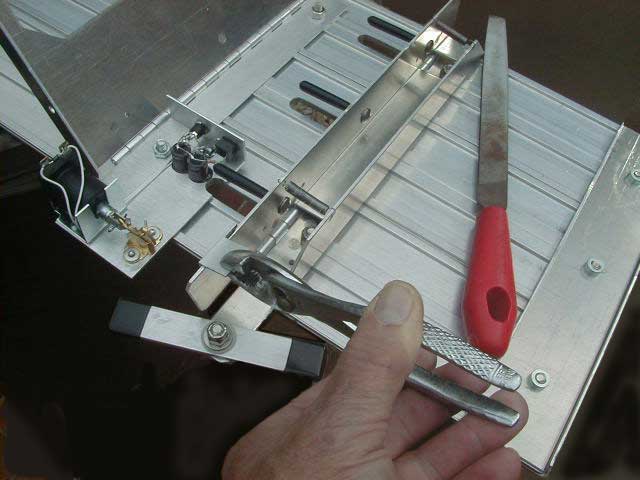
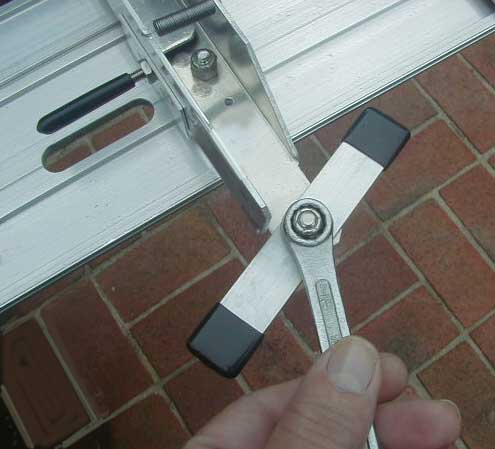
Step3. Tighten the start lever in the full open position to keep it out of the way, or better yet, remove it and set it aside.

Step 4 . Remove the screw and nut on the right-most lane.

Step 5. Drop in the MWG-1.

Step 6. Make sure the MWG-1 edge is snug up against the hinge knuckles as you secure with screw and nut.

Step 7. Add the Strike Plate to your Start Gate. We supply adhesive for initial attachment. However, the adhesive alone is not strong enough. Finish up by drilling through the gate metal with 3/32" or 7/64" drill, and insert a #4 sheet metal screw supplied.

A pop rivet is even better if you have access to the tool. In this case you must enlarge the hole to .129". You can use a 1/8" drill and wiggle the bit around to enlarge slightly.

This is where the strike plate goes.

Line it up so that the gold latch is centered on the protruding part.

Finish up the attachment with screw, or pop rivet as explained above.

If you use the screw, after installation, file the sharp point of the screw a little bit to prevent injury.

Step 8. Using a pliers, bend the strike plate as necessary to engage the latch properly.

You may need to use a file to fine-tune the length of the strike plate.

Test by using your fingernail to press the plunger into the solenoid as you make your adjustments.

Here is the finished product. Nice, smooth action.

Now, hook up the power supply and the Light Tree, and have a great Derby!


Home